So you say your pre-loved item needs to be depersonalized or a less than ideal item needs to be customized? Well keep on scrollin’, my friend…
Last winter, I needed boots for cold, yucky weather. My wallet needed me not to need boots for cold, yucky weather. Clearly, we were at an impasse.
I went to a moving sale.
Said moving sale had advertised “LOTS AND LOTS OF SIZE 6/6.5 SHOS AND BOOTS!” (The author of the post left out the E, but I was pretty sure I knew what she meant.) Well, hot diggity dog! Now you’re playin’ my song, yard sale ad posting lady! I’m in!
I arrived just in time to see a woman walk away with what appeared to be every pair of shoes at the sale. She had an oversized clothes basket filled with them. MOUNDED! OVERFLOWING!
Drat.
Oh well. Next time.
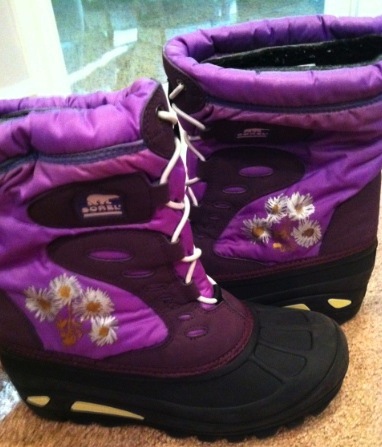
But then what did I spy with my little eye? These very waterproof Sorel boots, which appeared to have been worn only once or twice. They were barely even scuffed on the soles! Oooooh! I was giddy with excitement!!! I raised them aloft in my right hand, pointed to them with my left and was just about to ask the proprietress the price when I saw it. Scrawled in ink (SHARPIE ink, no less) on the outside of BOTH shoes, the name of the former owner (her daughter I assumed.)
Drat.
Oh well. Next time.
Hand came down, pointer finger assumed the at ease position.
“I know!” called the proprietress with a shrug. “Nobody’s gonna buy those.”
I nod, sympathetically.
“If you’re buying that” (she points to the hardcover copy of Bill Bryson’s “At Home” that I have since picked up) “you can have the boots.”
Rrrr?
Yep. I’m in.
I had no idea how I’m going to get Sharpie off of waterproof nylon, but I was going to try…and try I did!
To no avail.
It wouldn’t even budge! I couldn’t even achieve success at a slight fading of the marks.
So what now, you ask?
Well here’s what I told myself: They can’t get worse. Even if I attempt something drastic and it’s a complete flop, no big deal…they were free and I don’t really want to wear them as is. A grown woman with her name written on her boots would be sad enough. A grown woman with SOMEONE ELSE’S name written on her shoes? Now that’s too far.
Soooo….
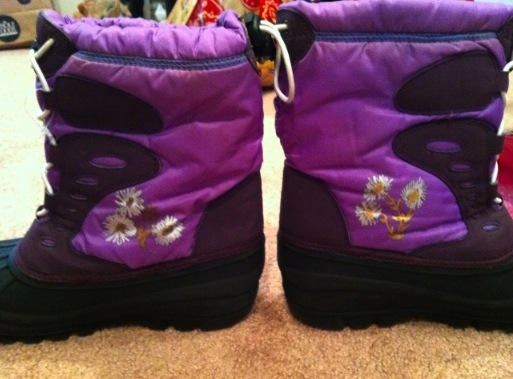
Step One: I grabbed a silver paint pen and a gold paint pen, left over from a project my daughter had done a few months ago and without preamble began drawing daisies on the boots. I completely obscured the Sharpie scrawlin’s and it really didn’t look half bad! It’s not fabulous, but it’s passable and the boots worked as a stop-gap measure until I found something better/cuter/less paint-penned. 🙂
Step Two: There is no step two! You’re done! Relax and enjoy the rest of your day! 🙂
Let it snow!
Imagine what you could do with some forethought and a rainbow of paint pens!
This project would, of course, work on a variety of items, not just snow boots. Keep scrolling for just one of the projects this one inspired my daughter and I to tackle!
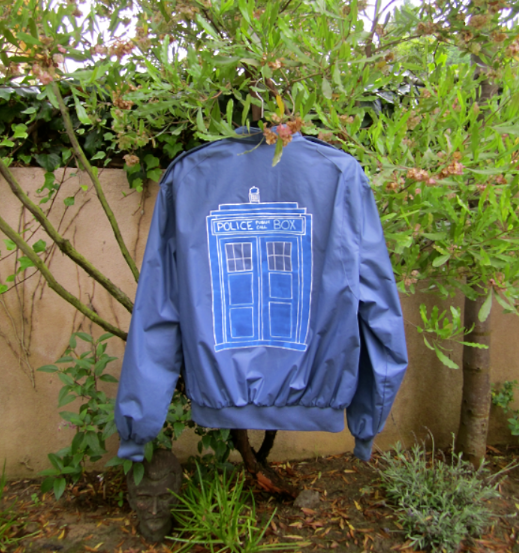
After the success last winter with the snow shoes, I found a vintage Members Only jacket at a yard sale this past Saturday. That, in and of itself, was a pretty righteous score, but the fact that it was blue got me to thinking. What if my daughter Hadley and I made a TARDIS jacket?

For those of you out there who aren’t Doctor Who fans, I’ll explain. The TARDIS is The Doctor’s spacey wacey, timey wimey machine. It looks like a police call box. If you’re not into Doctor Who, feel free to make a jacket for yourself with Mork & Mindy, The Cat from Outer Space, Alf, or any other alien, however inferior they may be to The Doctor. Nobody is judging you. Ok, yeah, we’re judging you. ALF? Really?
Here are the easy steps and some pointers for customizing a jacket of your own (no sonic screwdriver necessary):
Step 1. Gather your supplies:
Get a jacket: I suggest something in a fabric such as waterproof nylon, Gortex or with manmade fibers. (The paint is less likely to bleed.)
I am of the opinion that if one is attempting a project for the first time, it’s advisable to start with something in which you have very little invested. I spent only one dollar on this jacket. Maybe you have one laying around that you don’t wear anymore, that has a stain or you could pick one up at a yard sale or a thrift store. (This way you’re less likely to bleed money.)
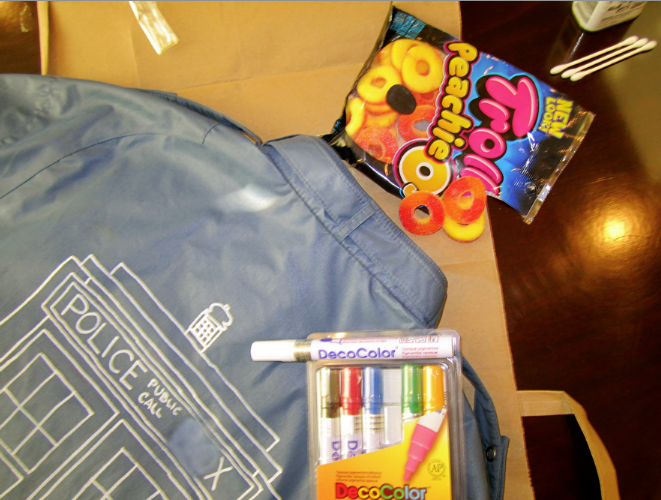
Get a pencil, an eraser and some paint pens: We used DecoColor paint pens. It is important to use permanent (oil based) pens for a project like this and NOT water based…otherwise the colors will run if they are exposed to any water. It also makes clean up trickier (see below) but there’s no way around that if you ever want to launder your item, spot clean it, or if you live in Seattle.
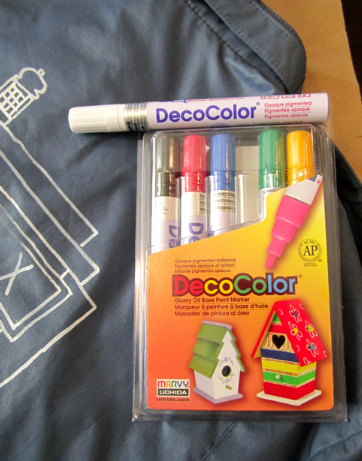
We found ours at Michael’s Crafts and used the weekly 40% off coupon (available in their flier, online, or via the Michael’s smart phone app.) These paint markers are available on their website:
Get snacks: We made poor choices. We went with Trolli PeachieO’s. PeachieO’s are available at Michael’s Craft stores, your local Gas n’ Sip, or anywhere snack time dreams are dashed.
Now that you have your supplies it’s time to get with it!
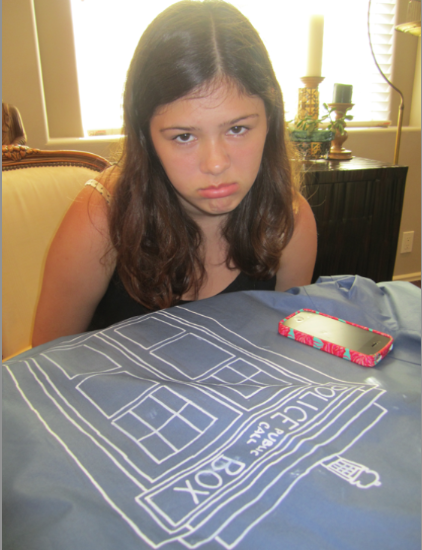
Step 2. Look online for a picture of the TARDIS to use as a blueprint of sorts. This is the picture Hadley found:
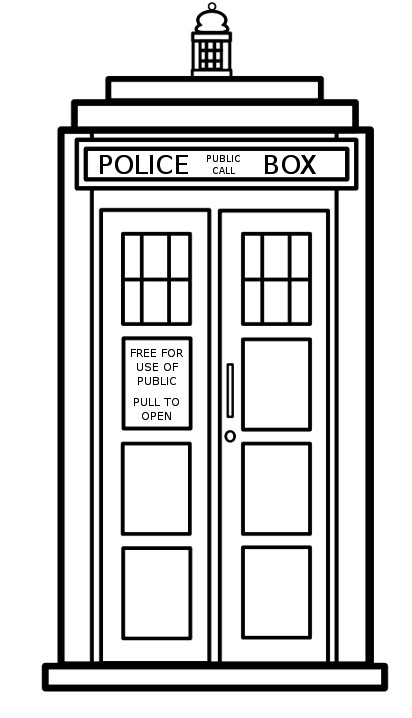
We used this picture in an effort to keep things really simple. We weren’t going for over the top fabulous, just easy and straightforward, because it was the first attempt.
Step 3. Sketch out what you want to paint in pencil before you make it permanent. Picasso’s first word as a baby was “piz” (short for lapiz…the Spanish word for pencil) so, yeah, don’t get too cocky here. If it was good enough for Picasso, it’s good enough for you and me. If you’re going for something with a lot of straight lines, winging it might not be your best option in this case.
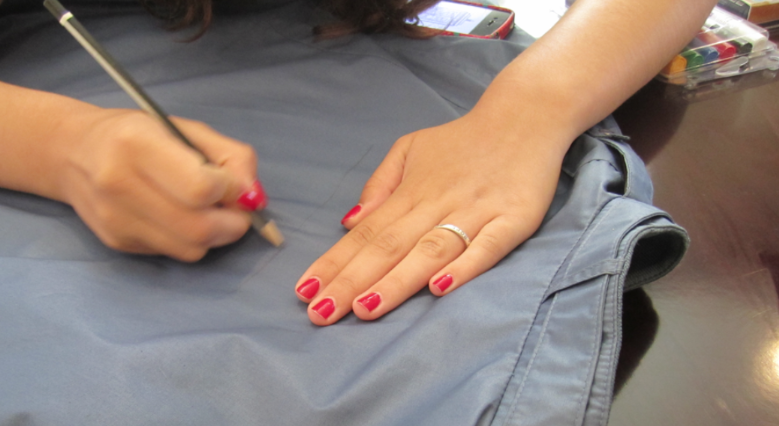
Helpful hint: Before you start drawing and especially before you start painting, put a piece of foam core (always my first choice if I have it on hand), cardboard, or at least some paper bags or plastic between the layers of the garment and also between the garment and the surface on which you’ll be working. This obviously protects your furniture, but placing a layer between the front and back of the jacket gives you something of substance on which to press your pencils/pens. It also protects the front of the jacket from paint that might soak through.

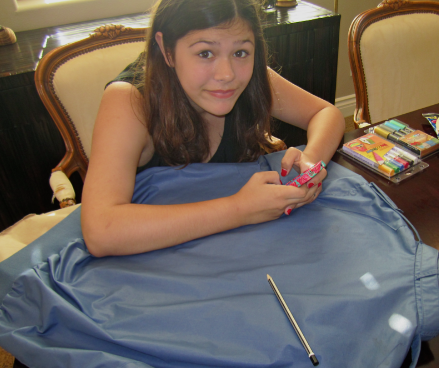
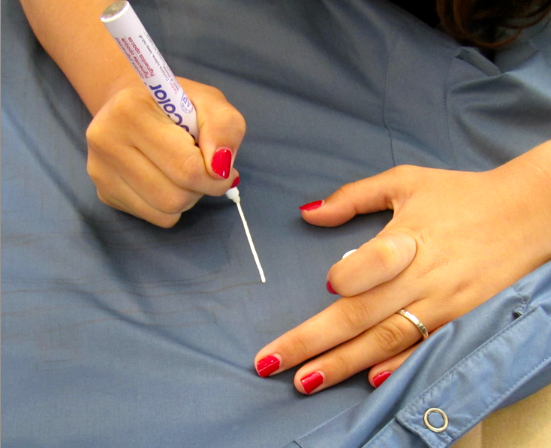
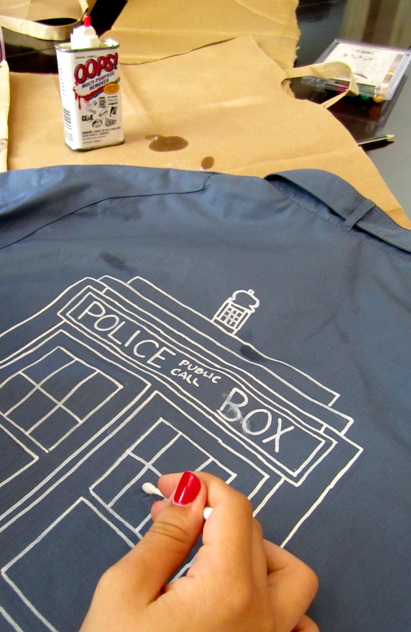
Step 4. At this point start going over what you did in pencil with paint pens. In our case, Hadley drew the white outline, I filled in the blue and then touched up the white. This version is VERY simple, but you could get much more intricate if you have the time and are so inclined. In our case we are starting the project mere hours before my blog is scheduled to “hit the presses”, so intricate was off the table. We’ll be adding more to the jacket later, so check back for updated photos. 🙂
Helpful hint: In our haste some of the paint was smeared. We tried fingernail polish remover to take out the smears with no luck, but Oops! took it RIGHT off, leaving zero spot or residue behind. Oops! is pretty great stuff to keep on hand. It is available at Sherwin-Williams. I sometimes have trouble finding it, and since one can lasts almost as long as two presidential administrations, by the time I need another can the store where I bought it last has normally stopped carrying it, has gone out of business, or has been replaced by a Starbucks. Starbucks doesn’t carry Oops!
Corporate bastards.
You might want to take a break at this point. Wait a few minutes while the paint dries before moving on. You MIGHT consider Trolli PeachieO’s. I advise against it.
Step 5: Go back, fill in, touch up, wear and enjoy! Allons-y y’all!
Again, check back for a more finished product. I broke my finger and projects/typing have been a challenge…but there will be more to come soon!
Nanu-Nanu,
Laura

1 Pingback