So, you say you want to propagate some moss on a rolling stone? Well read on…
This simple recipe works for growing moss on rocks, planters, walls, garden statuary, pots and more. Whether you’re in the mood to tag your house with some kick-a%& moss graffiti or are looking for a more traditional approach, the most cost effective way to get started is by making a moss sludge (milkshake/slurry.)
There are many, many resources online for propagating moss, this is the recipe that I have used.
You will need:
* Moss
* Yogurt
* Buttermilk
* An item you wanna “moss up reeeeal good.”
*Paint brush and/or spatula
*Rubber gloves (it’s up to you people…if you want to forgo the rubber gloves and live like animals, I’m not going to stop you.)
*Snacks…you always need snacks.
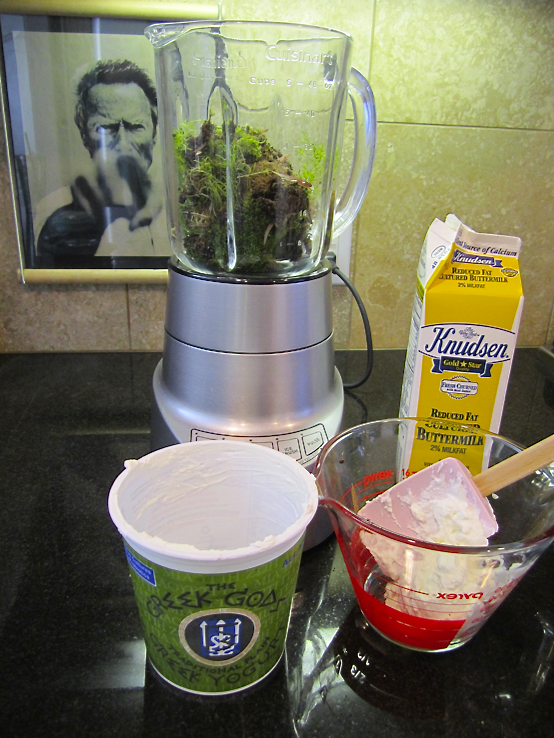
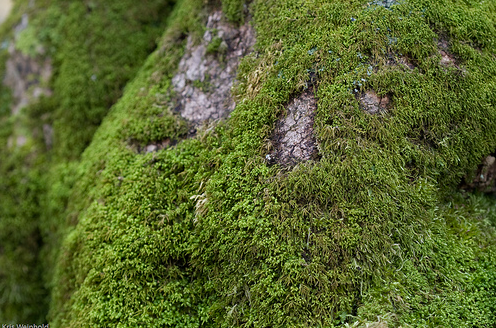
Step 1. Gather moss and supplies. You want a decent amount of moss. Depending on the size of your project you can even fill the blender nearly full, let’s say ¾ of the way. I used three different types of moss when I made this milkshake because I was looking for a variegated pattern, but using more than one type of moss has the added benefit of giving the moss more chances to do well in your yard. You never know which variety will take hold best, and this way you are throwing a wider net. You can gather moss from your own yard (best if you have some, because you know it will grow there), get some from a friend or neighbor, order it online or even buy some at your local home improvement store or garden center. I used two types from my yard and one type, left over from another project, which I purchased at Home Depot.
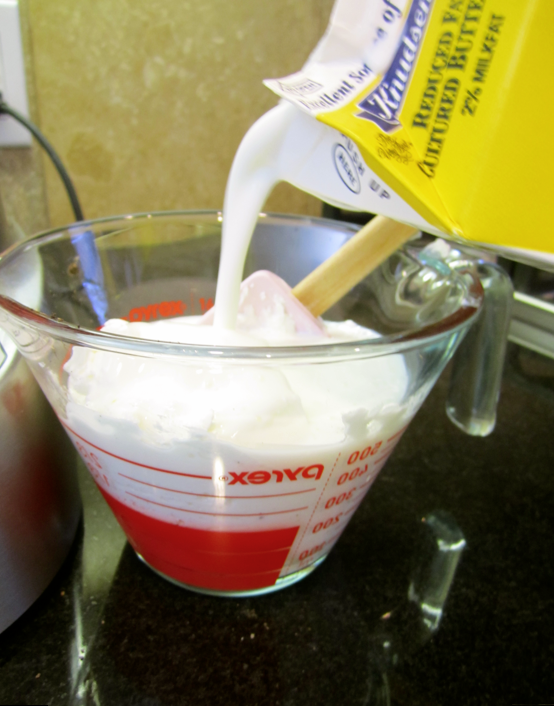
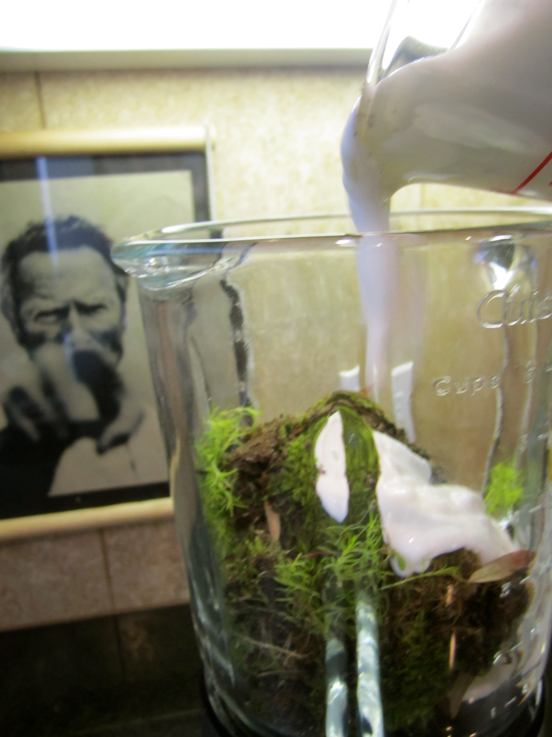
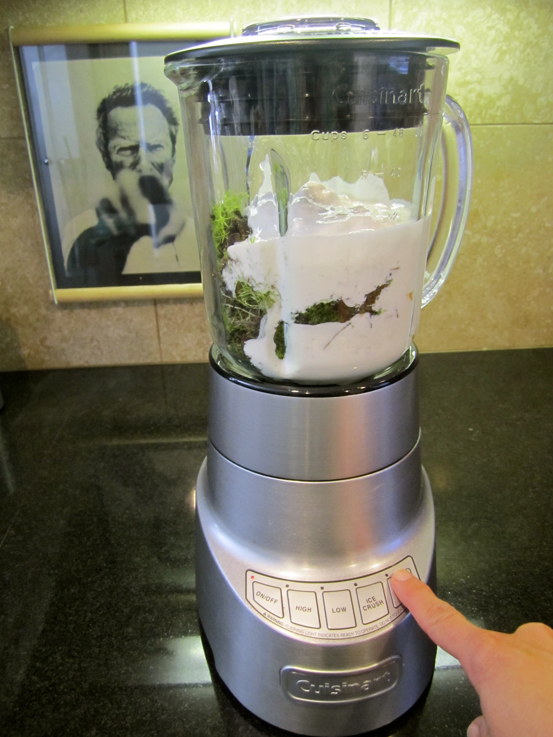
Step 2. Place the moss in the blender and add about two or three cups of yogurt mixed with buttermilk
Helpful hint: You may add a bit of sugar if you like, you may add a tiny bit of fertilizer and if you don’t have yogurt or buttermilk, you may substitute beer. You may add beer to the yogurt and buttermilk concoction if you like (again: wide net) but it’s not necessary.
Step 3. Blend on high until the mixture is VERY well blended. Some moss enthusiasts prefer a thin mix, I prefer slightly thicker, as I have found that it is much easier to use.
Don’t stop yet…keep blendin’!
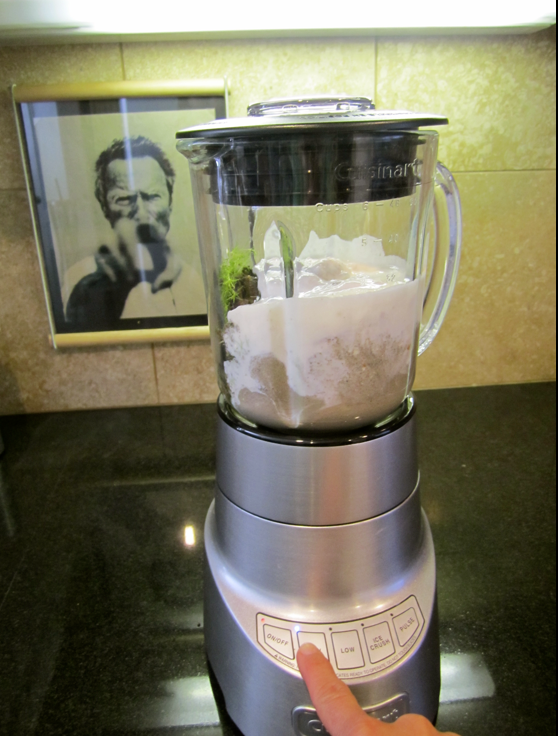
Nope, I know you are anxious, but it’s not done yet, keep going!
Helpful hint: During the mixing and blending process, I kept a few spices on hand, such as tarragon, oregano or even run of the mill pepper. Not because they are necessary for the recipe, but so that if my daughter wandered into the kitchen while I was in the middle of the project and asked what on earth I was making I could happily chirp: “DINNER!” and watch the look on her face. This step is optional, but quite honestly, the most entertaining.
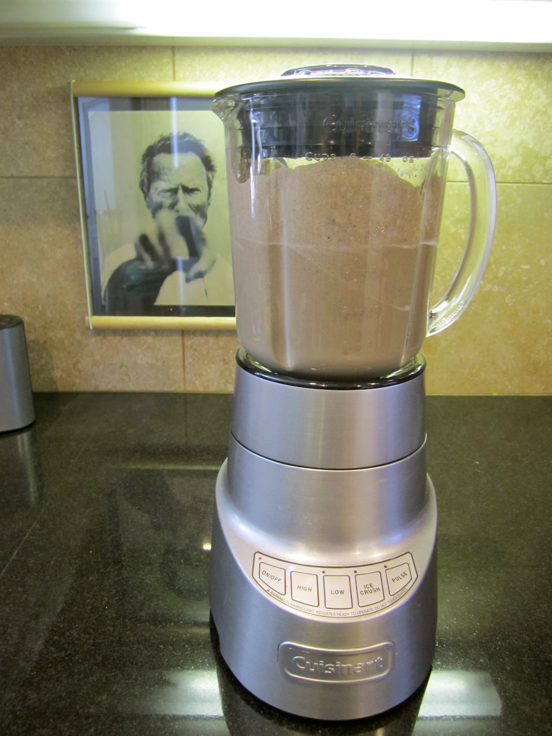
NOW it’s finished!

Do your best to hold back. I know this looks TOTES appetizing, but do NOT be tempted to lick your fingers or spread it on toast. You’ll be disappointed. Just ask my daughter. If you’re feeling inclined to give it a try, this is a good time to fall back on the snacks you were supposed to include when you gathered your supplies. I hope you didn’t get something lame like carrot sticks, because you’re going to be disappointed.
Step 4. Skip your happy self outside and go to town with that nasty lookin’ stuff! You can use a paint brush, spatula, or your hand (your rubber gloved hand!) to spread it onto walls, onto rocks, onto the ground, yard art, or, if you’re feeling particularly industrious, onto any exceptionally sedentary members of your household. Baseball season and “Game of Thrones” marathons are two good options for when to attempt that particular project.

Helpful hints: Most types of moss prefer shade, so try to choose a shaded location to grow your moss. There are varieties that will tolerate some sun, but make sure that’s what you have if you want to try a sunny spot. Also, be sure you’ve moved anything you will be removing eventually, such as leaves before you pour/spread it out on soil.
Follow up steps: Keep an eye on the moss and keep it moist. A fine misting is plenty once per day until it’s latched on well and seems to be thriving. Keep in mind that this won’t happen overnight, so hang in there!
If you do “moss up” a loved one, be sure to keep them out of direct sunlight and take plenty of pictures.
Happy gardening!
-Laura

Leave a comment